So I've been asked by a friend of mine to give him a hand with his painting by doing an on-line tutorial for him (Hey Owen). So I thought, why not do a step-by-step guide to what I'm painting up next. This just happened to be a Cauldron of Blood (Well another for my ever growing Dark Elves).
So here we are with Part 1-The Basics, and they are at that.
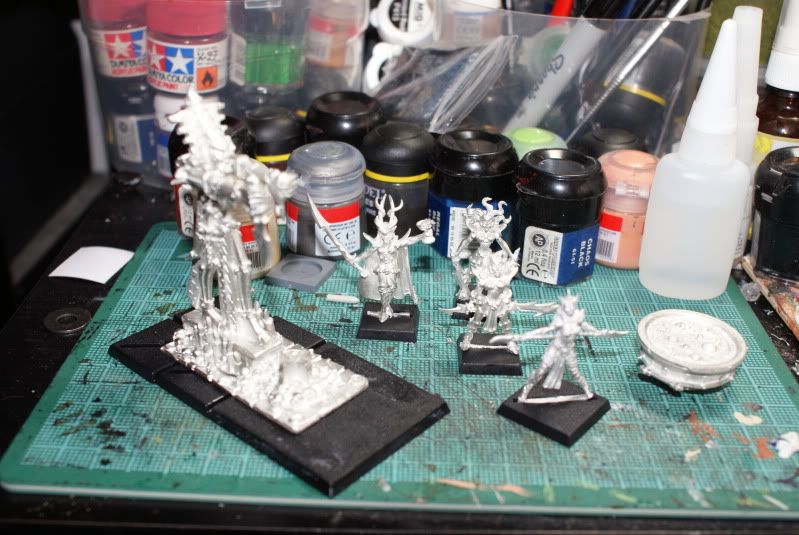
First thing to do is get all the parts of the models together and assemble them, remove the flash (the excess bits left after the casting process) and glue them to the bases. I didn't have a spare chariot base around so I made a one up out of spares I had. A little poly-cement along the sides will stick them together, just make sure you leave them to dry for a good while.
 For step 2 I added sand to the bases. Now I don't always do this, I wanted to cover up all the holes from the misfit looking chariot base and adding sand at this stage also means that when you undercoat the sand also gets a coat of it as well. You may notice that I have gotten sand onto the sides of some of the bases. This was actually intentional, I find that having a little bit of texture here and there on the base sides adds that little bit more to the feel of the model. You'll see this later on when things start coming together a bit more.
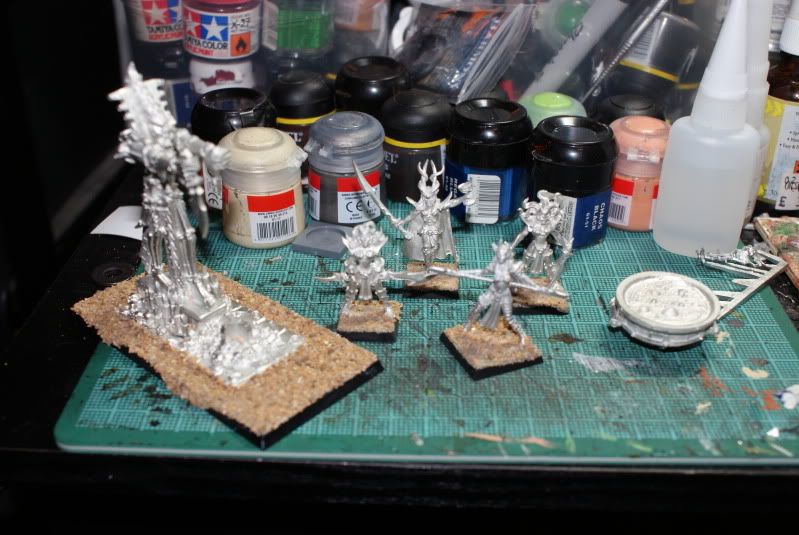 Step 3, I gave the sand a quick coat of Chaos Black. This will work as a base colour to work from and also helps to keep the sand on the base that little bit more. (Especially after the undercoat)
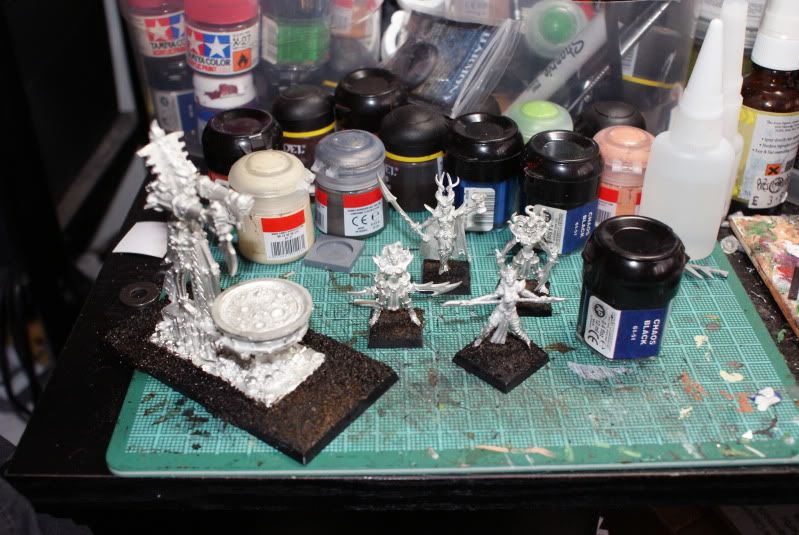 Well that's the basics done and ready for the spray can. Next I just need a good day to get out in the garden and spray everything black.
No comments:
Post a Comment