Showing posts with label guide. Show all posts

Thursday, 9 February 2012

Step-by-Step Cauldron of Blood : Part 8 Paint it Purple

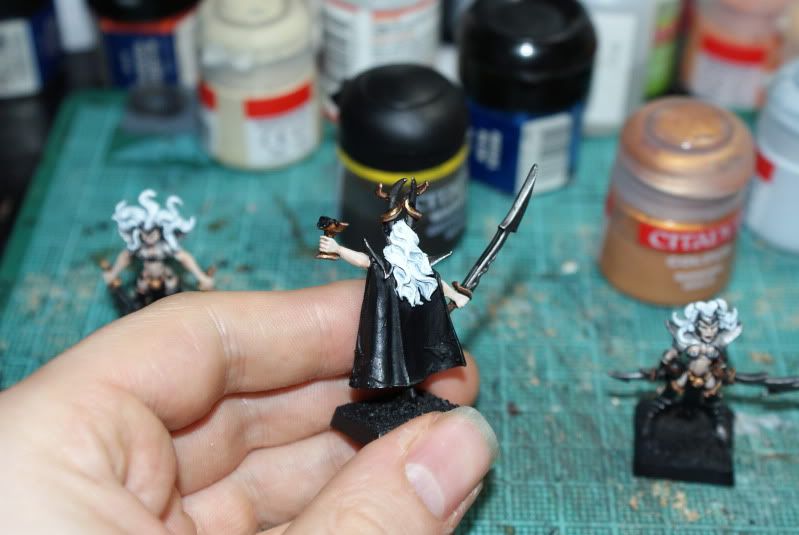
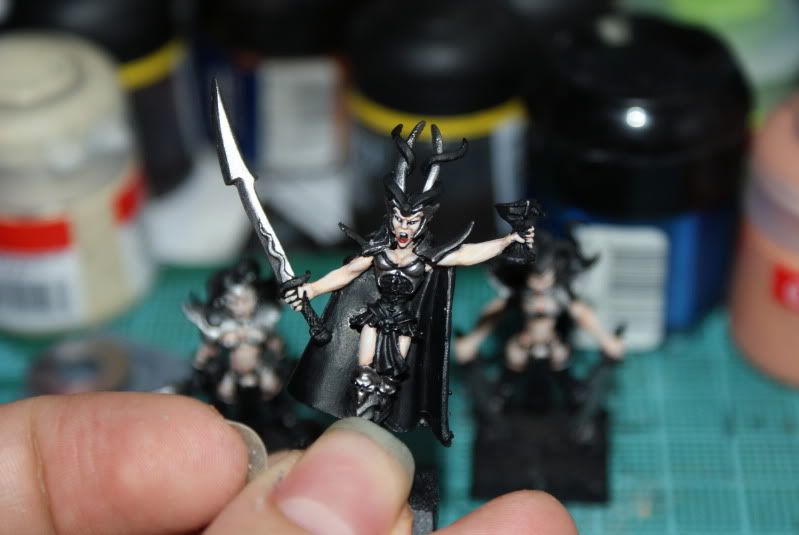
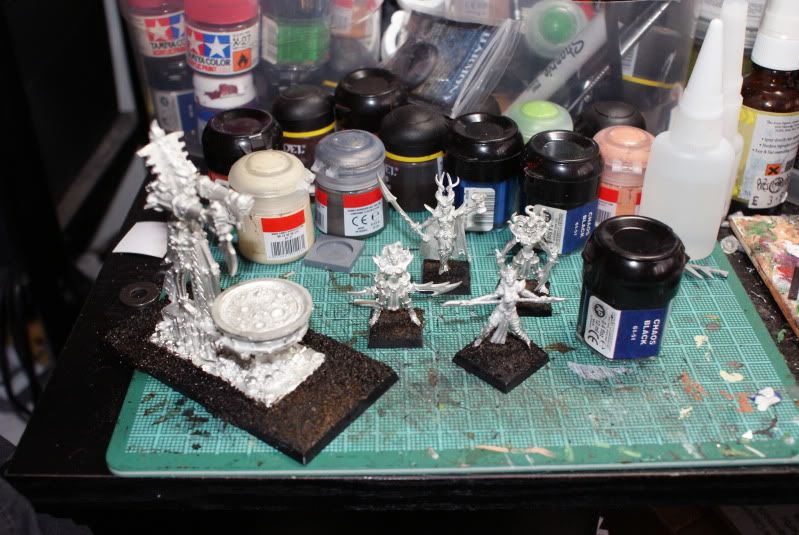
So I thought it was time for another bit of the painting guide. Nothing too extensive today, just painting a bit of purple on the cloth areas.

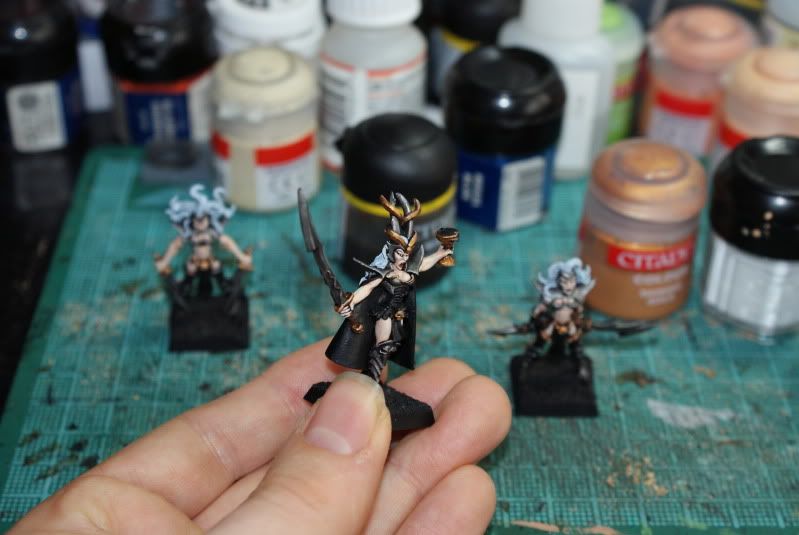
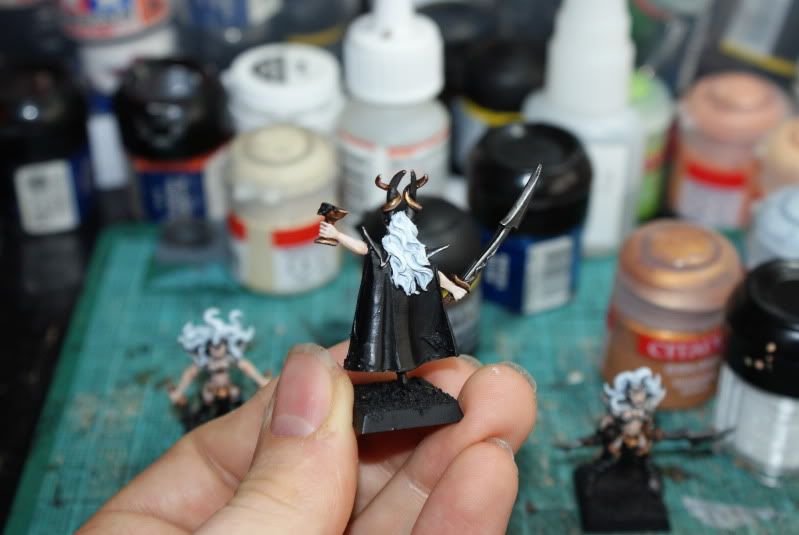
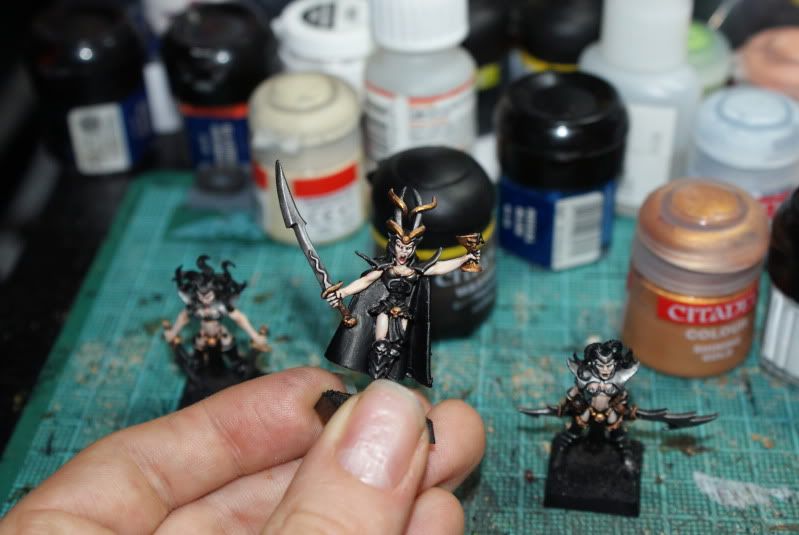
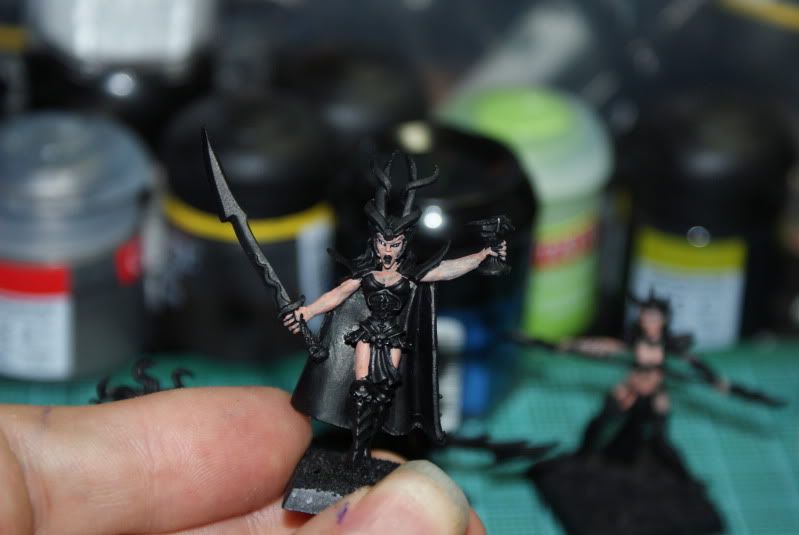
First off I give the areas a smooth coat of GW's Liche Purple. I really like this colour and use it on the majority of my elves to tie them together as an army, it goes on nice and can be mixed with a few things to give some nice contrasts.

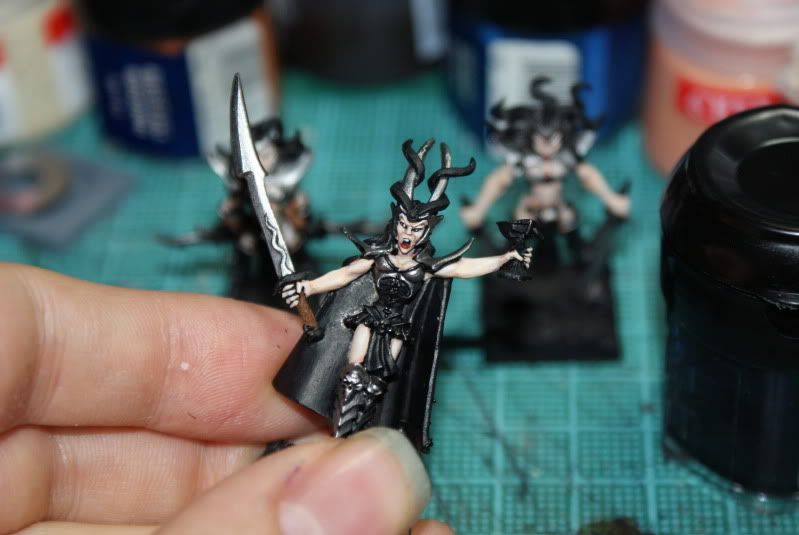
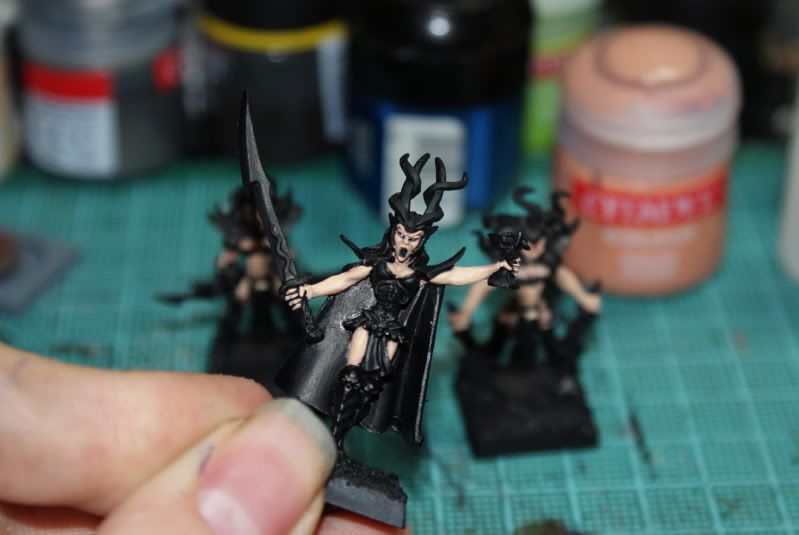
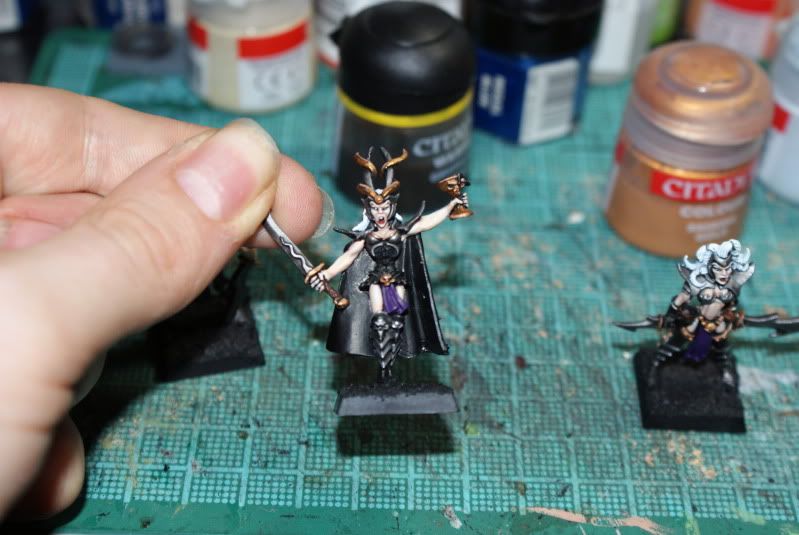
Next is a highlight of Liche Purple and Skull White, I add just a small spot of white as it makes quite a difference to the purple. I then paint the more raised areas of the cloth.
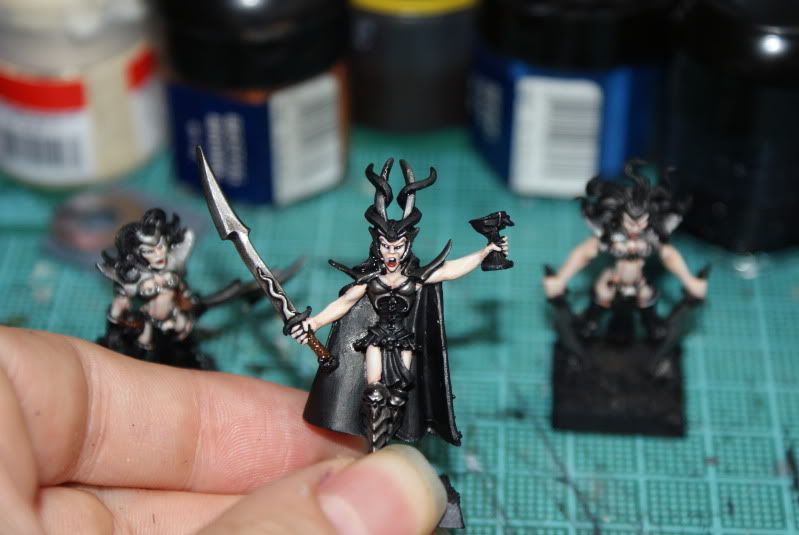
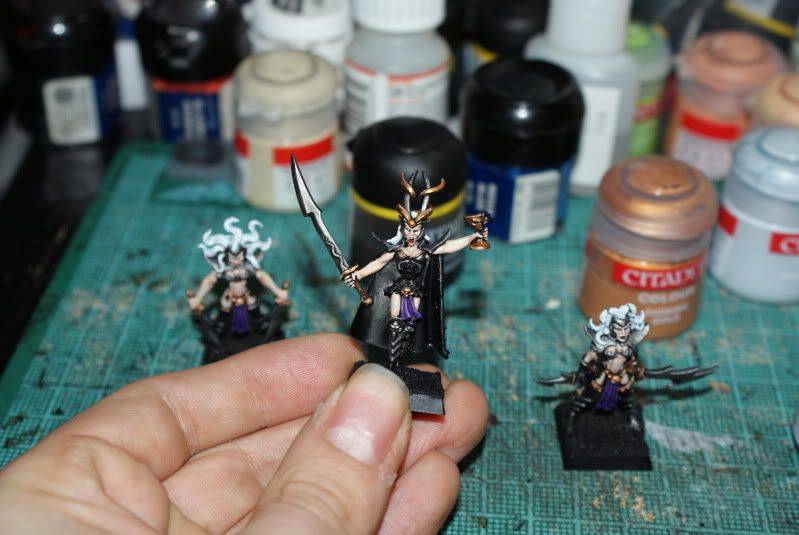
Finally I add a little more white to the mix and add another highlight to the raised ares. I try to make the final highlight quite thin along the very edges of the areas as to not take the attention away from the original colour. If you do too much it will make the cloth look more pink than purple and I really don't think pink Dark Elves will look that terrifying on the tabletop.
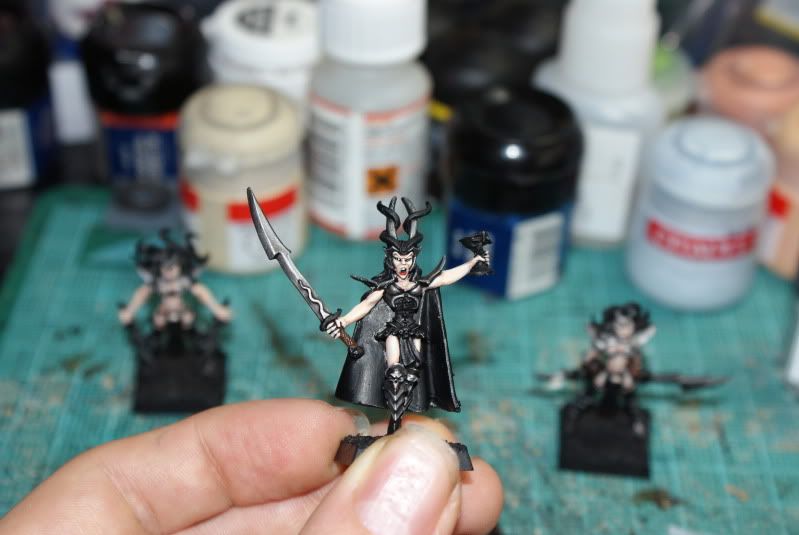
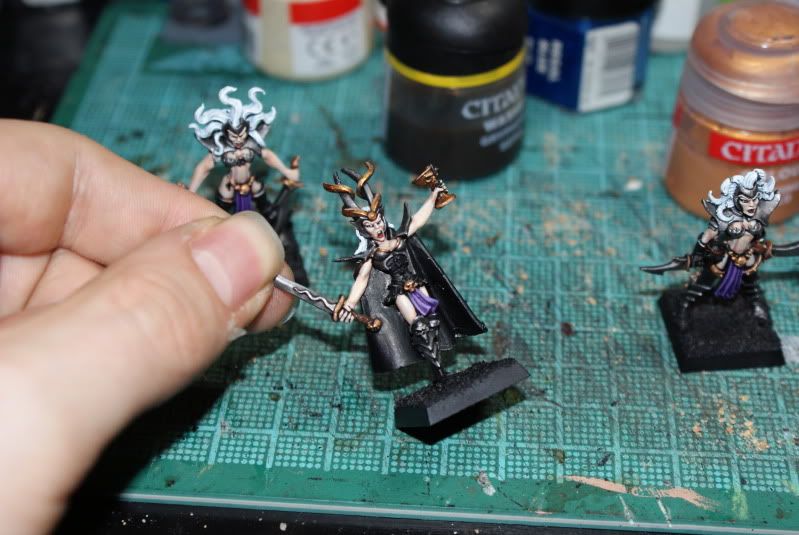
So I'm now getting pretty close to finishing off the Cauldrons attendants, only have the black areas to highlight, the blood and gore to add, and the basing to be done (Which I will do once the actual Cauldron is painted).

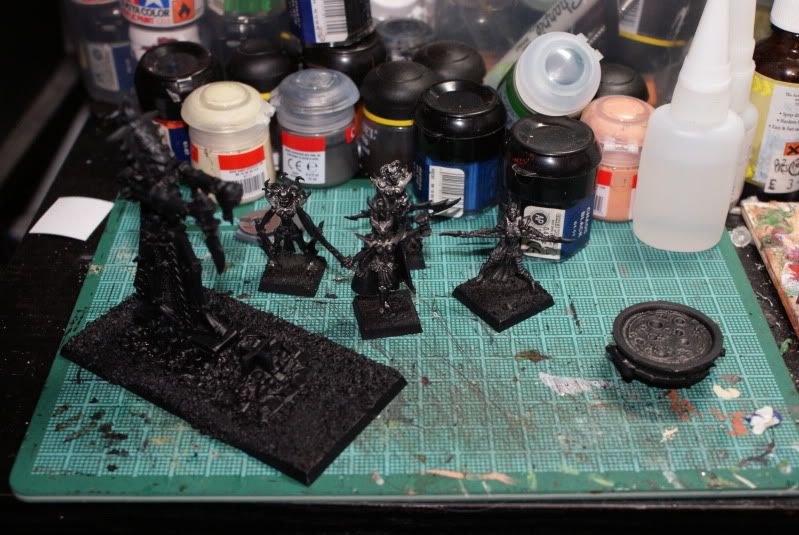
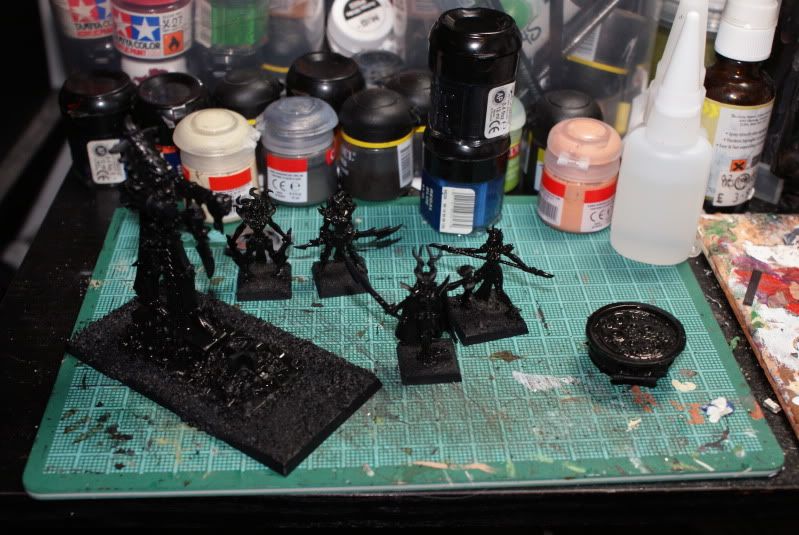
This week I will be doing some extra work on my Dark Eldar Commission and I'll be finishing off the attendants before moving onto the Cauldron itself.

Sunday, 5 February 2012

A little bit of Dark Eldar

So a little break from my guide to show whats in the process at the moment. This is a prototype Dark Eldar I've painted. I'm currently painting up an army as a commission for a friend. I was given free range with the scheme, so opted for a red/black look, which will be reversed on the vehicles in the force.
I should hopefully have the first squad all done (except the basing which I will do when I have more done) by the end of this week. As well as some more for the guide.

Monday, 30 January 2012

Step-by-Step Cauldron of Blood : Part 7 - A bit Hairy

Well it's time to get back to some work on the guide, sorry it's taken so long.

The next step I do is work on the hair. I generally paint my Dark Elves hair white. People have come up with so many reasons as to why I do this, but to be honest, I just like the way it looks.
The first thing I do is give the hair a coat of Space Wolves Gray. Make sure this layer has a good covering, nice and smooth and doesn't have any black patches showing through.

This may take a few thin coats to get a good finish.

Next lightly brush over the raised areas with a 50/50 mix of Space Wolves Gray and Skull White.

Once dry add a final highlight to the raised areas with Skull White.

Tomorrow I'll be working on the cloth areas

Friday, 20 January 2012

Welcome 2012

So 2012 is here and I know it's been a damn long time since I updated my Blog. Christmas and New Year is a real hectic time for me, and to be honest, I have no energy to do anything when I get home from work, so painting has been on a bit of a back-burner.

But I will hopefully be getting back to work this week. And here's some news on whats coming...

I have a commission coming up painting some Dark Eldar for a friend, I've been thinking about painting some up for a while, and this will give me a chance to paint some. I have full licence on how to paint them and have a rather cool scheme in mind. So keep an eye out for those.
I've also been given a date for the next big Fantasy game. Now I don't know how much of my army will be taking part in the game this time as we are going to tie it into a 'Battle Brothers' scheme the store has been running. So it will involve some armies from the younger members of our gaming community. If we do run short on minis though My Dark Elves and Louis's Empire will be making a timely entry to the field. Now you may be asking 'Why the Cygor picture?' Well over Christmas I've picked up a couple of these and a few Chaos hound. I'm hoping to get these painted up in time for the game. (Which for anyone wanting to turn up will be Friday April 6th at GW Carlisle) Now I should have plenty of time for this.

I'll also be continuing my step-by-step guide and finishing off my Cauldron of Blood for those of you that have been following that.
I'm also wanting to add one or two of these to my army. I think they would fit in almost perfectly as a mobile Nexus in a Storm of Magic game. Of course it will need some minor conversion here and there but I think it will look cool. (So if anyone is looking for a Birthday gift for me - Hint dropped)

So now I'm going to make a move and find some minis for a friend to borrow and some Marines for GW Carlisle's cabinet. Be back again soon.

Monday, 14 November 2011

Step-by-Step Cauldron of Blood : Part 6 - Gold

Next step is to add some Shining Gold to the minis.

A coat of Shining Gold is added to the appropriate parts. This can be quite a tricky colour to get a smooth coat with so it may require a few thin coats. Don't be worried if your first coat is quite patchy, this is normal, just wait until it's dry and add another, and repeat until you're happy.


Once the gold is dry I add a wash of Gryphone Sepia. Now a lot of people would use Devlan Mud here, but I prefer the Sepia. It adds a more subtle shading to the recesses, which to me is much more pleasant.


Finally when the wash is completely dry (don't be tempted to do this too early) I add a highlight of Shining Gold with a small touch of Skull White. This gives the paint an almost creamy look, and when applied to the edges of the gold areas dulls them slightly, just like with the other metal areas.

Sunday, 13 November 2011

Step-by-Step Cauldron of Blood : Part 5 The Armour

Well it's been a while, but I'm finally back. Computers all working, although the nice guys at the cybercafe have lent me a power lead till payday at the end of the month.

So without further ado here's the next installment of my Step-by-Step guide.

For the armour I first give the selected areas a coat of Boltgun Metal.


Next I painted the areas I want to have a brown leathery feel with Bestial Brown. Yes I know I'm supposed to be doing the armour, but there is a reason for this.


Which is because I now give all the metal and leather areas a coat of Badab Black, this adds some shading to the areas and dulls down some of the shininess on the metal.


Finally I add a higlight to the edges of the metal with a mix of Boltgun Metal and Skull White. This mix further dulls down the shininess of the metal. If you want the metal to have more of a shine to it you can use Mithril Silver. But for Dark Elves I feel the dullness adds to the overall effect.

Sunday, 23 October 2011

Step-by-Step Cauldron of Blood : Part 3 - Fleshing Things Out

Welcome to part 3 of my step-by-step guide. Today I'm going to be doing some real painting.

Now before I start on the flesh, I always paint in the eyes of a model. The reason for this is twofold. First, if you try to paint the eyes once the face is done, you will be trying to be really careful you don't mess up the skin, this way it doesn't matter. So you can concentrate on getting your eye right. Secondly if you do make a mistake, all you have to do is give it a once over with some black and you can try again. Believe me and have a go, it is a lot easier to paint around the eyes than to add them afterwards.

Now I keep my eyes very simple, and the Fitzpatrick Dark Elf sculpts have great faces to make this much easier. Just paint a white line across where the eye is. And then add a black line downwards across it to make the pupil.
Once I've done the eyes I start on the flesh, with a base coat of either Dwarf Flesh or Tallarn Flesh. This time I've used Dwarf Flesh. The Base coat adds the colour to the deeper recesses on the mini.
Next I add a layer of Dwarf Flesh and Elf Flesh in a 50/50 mix. I do this by painting onto the more raised areas of the mini, leaving some of the darker paint showing.
Next layer is a coat of pure Elf Flesh, again onto the raised areas, leaving a little of the previous two layers showing.
Tomorrow I'll finish off the flesh and add some more details to the face...

Step-by-Step Cauldron of Blood : Part 2 - More Basics

More basics for you today, but don't worry the real painting is coming...

So I got up today and went to undercoat the Cauldron, well the weather isn't great here so it was just a quick job. In fact chances are more undercoat ended up on the cat, which came to watch than on the Cauldron. Hence you'll notice that there is still some silver showing. Don't worry.
Just give everything a quick going over with some thinned down Chaos Black. Now you will probably have to do this anyways, unless you spend ages spraying. I find it much simpler to do a quick spray, let it dry then give everything a once over to find all the bits that the spray missed.
Now things are ready to start the real painting...

Saturday, 22 October 2011

Step-by-Step Cauldron of Blood : Part 1-The Basics

So I've been asked by a friend of mine to give him a hand with his painting by doing an on-line tutorial for him (Hey Owen). So I thought, why not do a step-by-step guide to what I'm painting up next. This just happened to be a Cauldron of Blood (Well another for my ever growing Dark Elves).

So here we are with Part 1-The Basics, and they are at that.

First thing to do is get all the parts of the models together and assemble them, remove the flash (the excess bits left after the casting process) and glue them to the bases. I didn't have a spare chariot base around so I made a one up out of spares I had. A little poly-cement along the sides will stick them together, just make sure you leave them to dry for a good while.
For step 2 I added sand to the bases. Now I don't always do this, I wanted to cover up all the holes from the misfit looking chariot base and adding sand at this stage also means that when you undercoat the sand also gets a coat of it as well. You may notice that I have gotten sand onto the sides of some of the bases. This was actually intentional, I find that having a little bit of texture here and there on the base sides adds that little bit more to the feel of the model. You'll see this later on when things start coming together a bit more.
Step 3, I gave the sand a quick coat of Chaos Black. This will work as a base colour to work from and also helps to keep the sand on the base that little bit more. (Especially after the undercoat)
Well that's the basics done and ready for the spray can. Next I just need a good day to get out in the garden and spray everything black.
Related Posts Plugin for WordPress, Blogger...