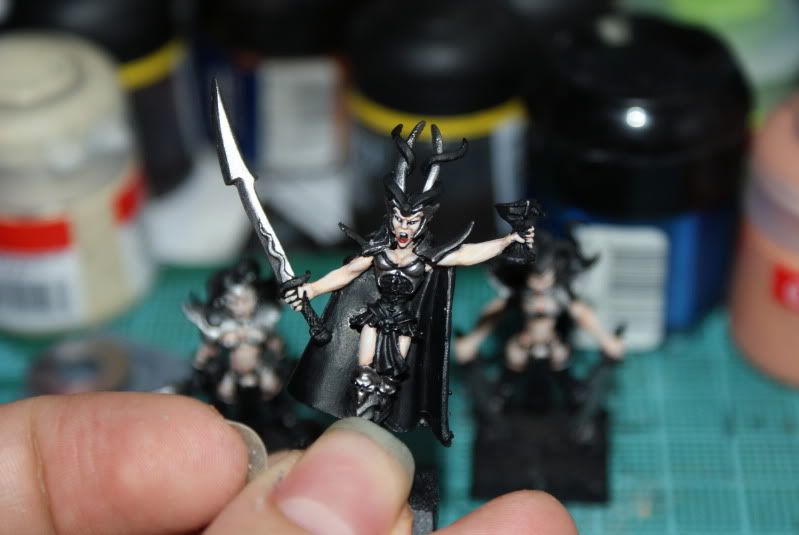
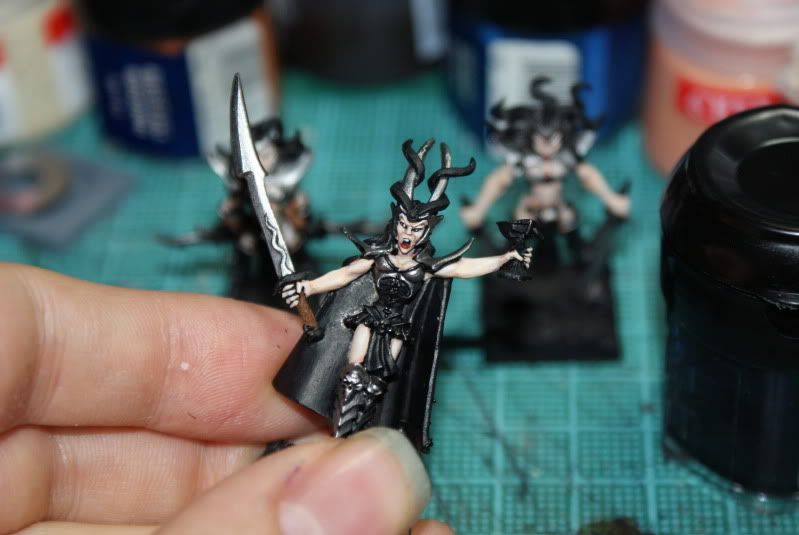
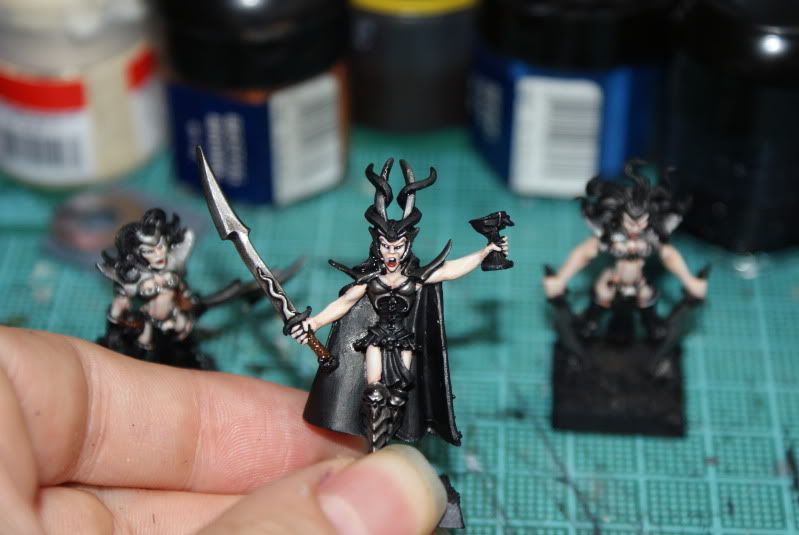
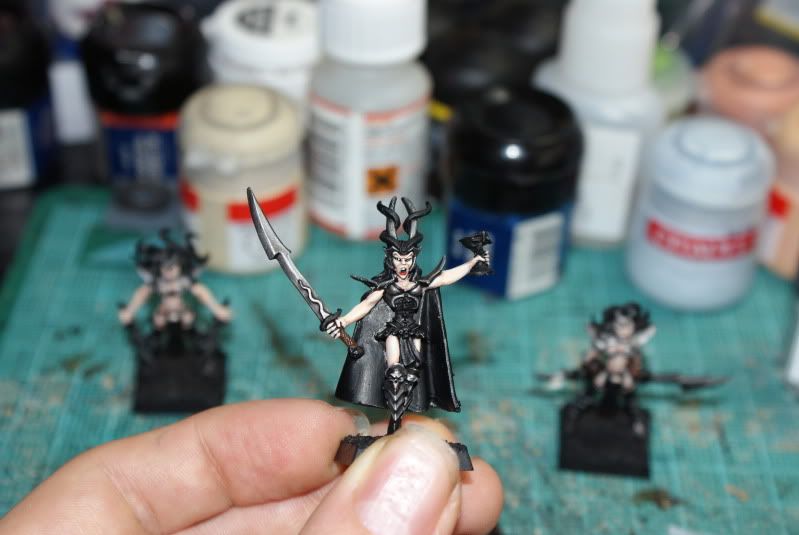
Next step is to add some Shining Gold to the minis.

A coat of Shining Gold is added to the appropriate parts. This can be quite a tricky colour to get a smooth coat with so it may require a few thin coats. Don't be worried if your first coat is quite patchy, this is normal, just wait until it's dry and add another, and repeat until you're happy.

Once the gold is dry I add a wash of Gryphone Sepia. Now a lot of people would use Devlan Mud here, but I prefer the Sepia. It adds a more subtle shading to the recesses, which to me is much more pleasant.
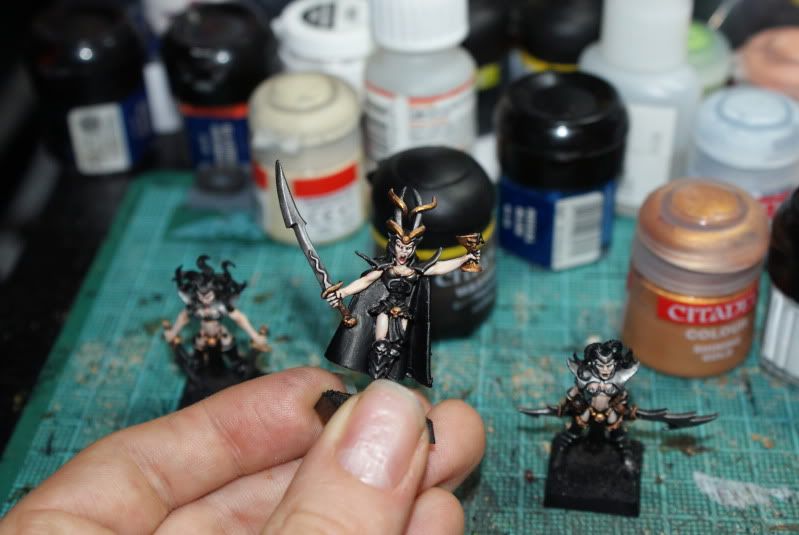
Finally when the wash is completely dry (don't be tempted to do this too early) I add a highlight of Shining Gold with a small touch of Skull White. This gives the paint an almost creamy look, and when applied to the edges of the gold areas dulls them slightly, just like with the other metal areas.
 A coat of Shining Gold is added to the appropriate parts. This can be quite a tricky colour to get a smooth coat with so it may require a few thin coats. Don't be worried if your first coat is quite patchy, this is normal, just wait until it's dry and add another, and repeat until you're happy.

