Welcome to part 3 of my step-by-step guide. Today I'm going to be doing some real painting.
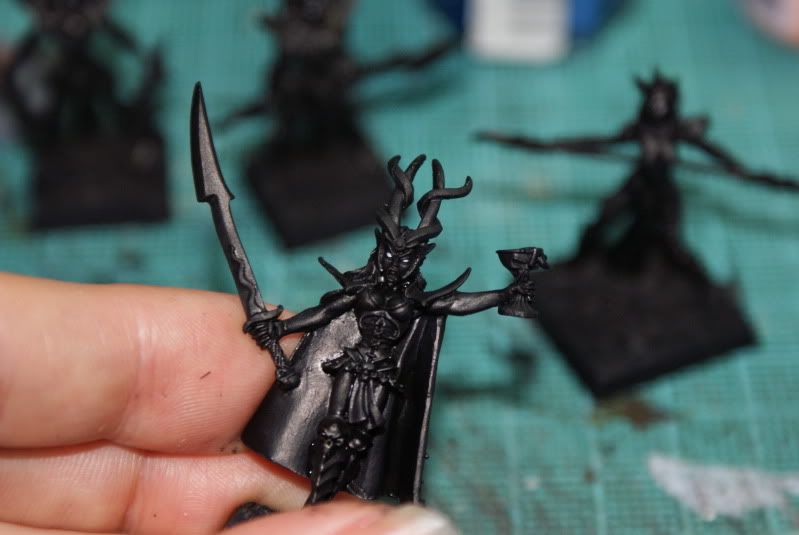
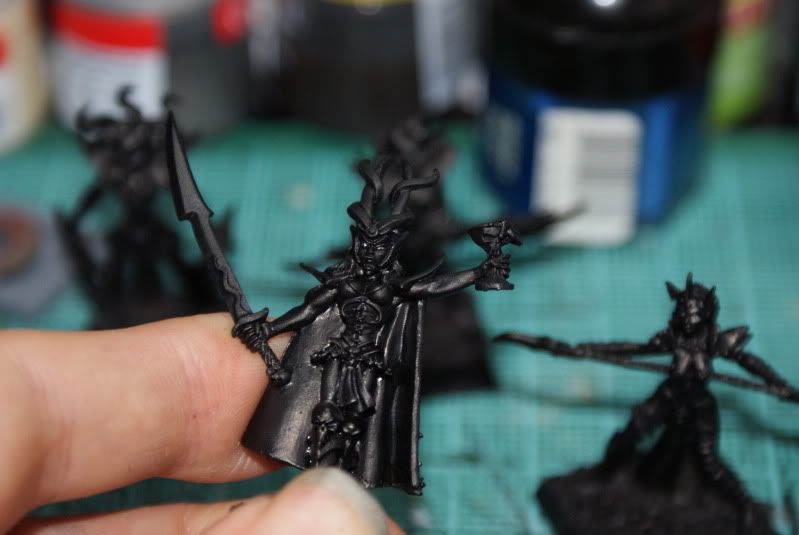
Now before I start on the flesh, I always paint in the eyes of a model. The reason for this is twofold. First, if you try to paint the eyes once the face is done, you will be trying to be really careful you don't mess up the skin, this way it doesn't matter. So you can concentrate on getting your eye right. Secondly if you do make a mistake, all you have to do is give it a once over with some black and you can try again. Believe me and have a go, it is a lot easier to paint around the eyes than to add them afterwards.
 Now I keep my eyes very simple, and the Fitzpatrick Dark Elf sculpts have great faces to make this much easier. Just paint a white line across where the eye is. And then add a black line downwards across it to make the pupil.
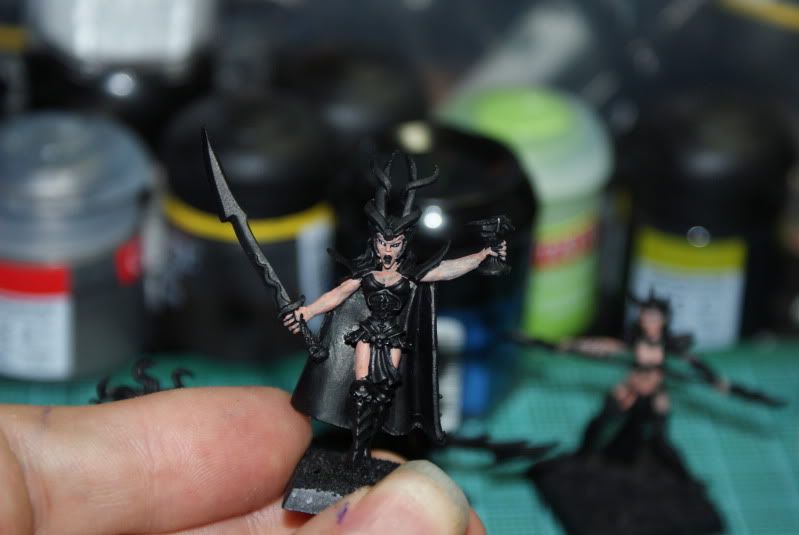
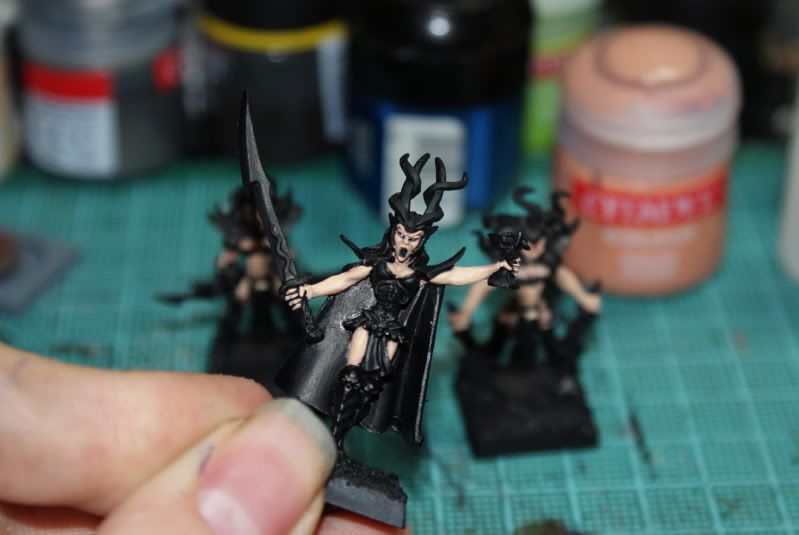
 Once I've done the eyes I start on the flesh, with a base coat of either Dwarf Flesh or Tallarn Flesh. This time I've used Dwarf Flesh. The Base coat adds the colour to the deeper recesses on the mini.
 Next I add a layer of Dwarf Flesh and Elf Flesh in a 50/50 mix. I do this by painting onto the more raised areas of the mini, leaving some of the darker paint showing.
 Next layer is a coat of pure Elf Flesh, again onto the raised areas, leaving a little of the previous two layers showing.
 Tomorrow I'll finish off the flesh and add some more details to the face...
No comments:
Post a Comment